Artisan Bread · Long Fermentation

Ciabatta with Poolish

A good ciabatta should look rustic rather than perfectly shaped. Its crust is thin and crisp, the crumb is moist and elastic, and the irregular holes inside are created by careful fermentation rather than by simply adding as much water as possible.

This is where poolish makes a real difference — a slow liquid preferment that transforms a handful of ingredients into a loaf with depth, aroma, and a beautifully open crumb.

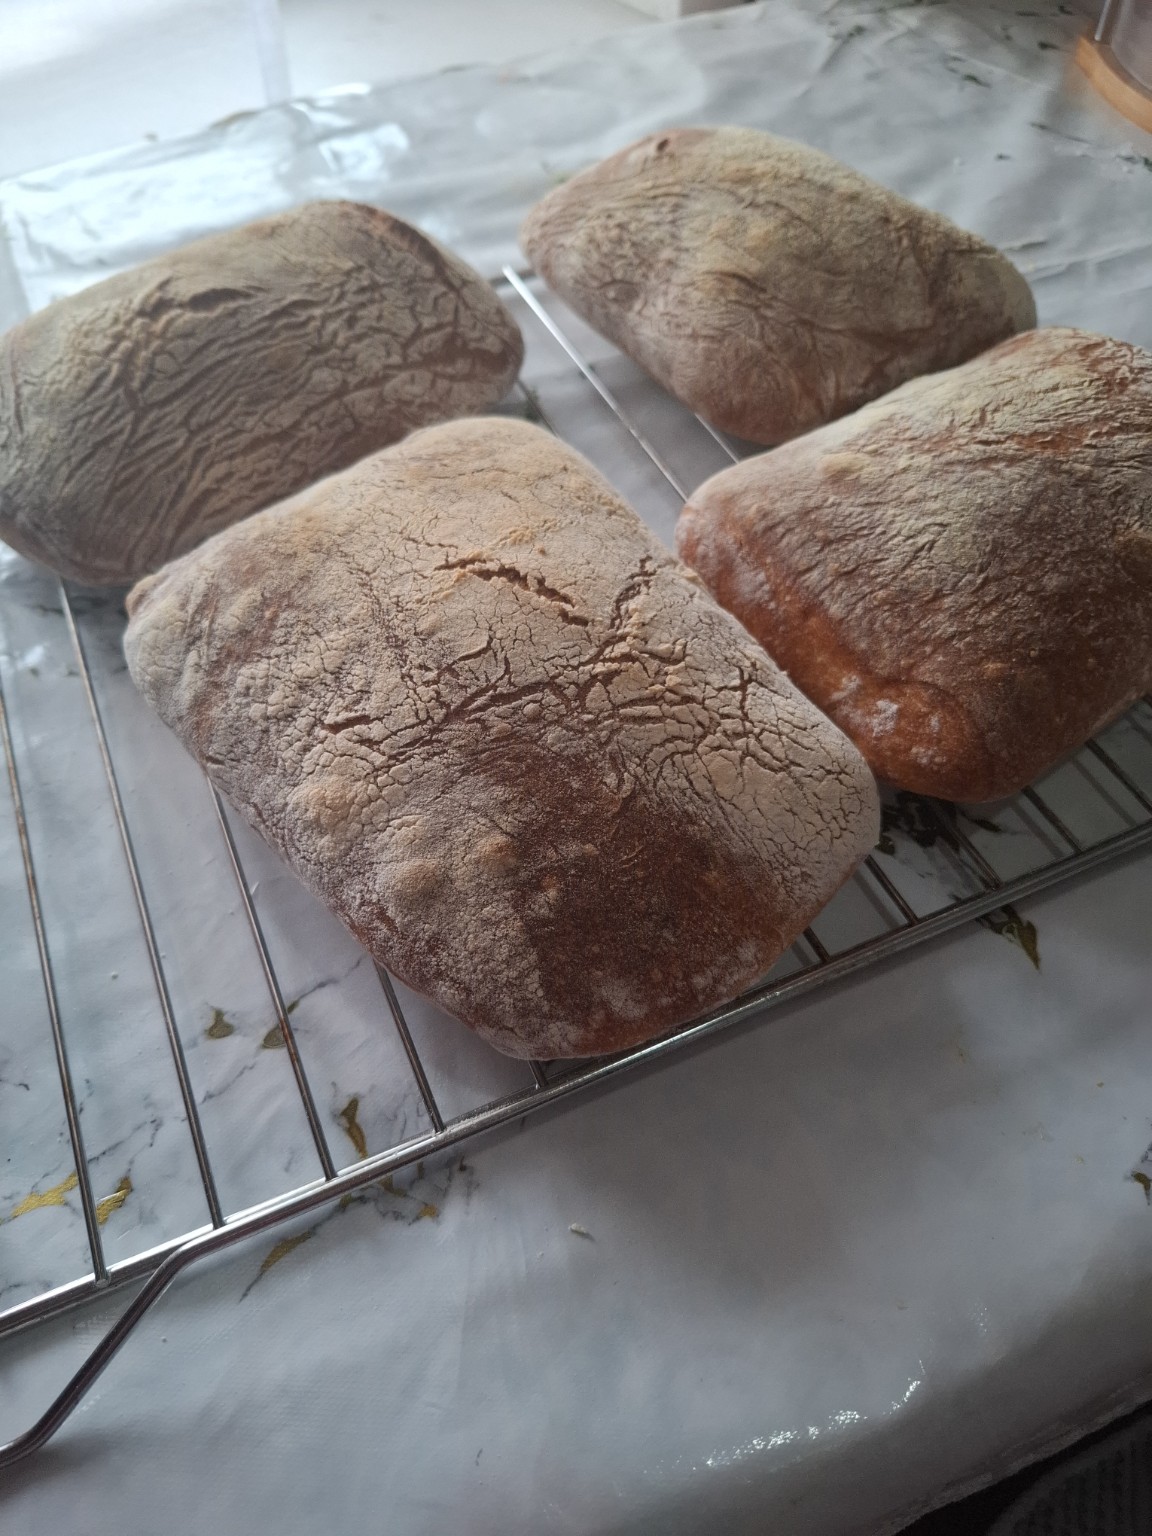
Homemade ciabatta with poolish
75% Hydration · Rustic Crumb
12–16 h
Poolish
2–3 h
Bulk Fermentation
30–45 m
Final Proof
250 °C
Oven Temp
35–40 min
Bake Time
75%
Hydration
2 loaves
Yield
Ciabatta crumb cross-section with irregular holes
The Preferment

What poolish actually does

Poolish is a liquid preferment made with equal amounts of flour and water and a very small quantity of yeast. It ferments slowly, developing a sweet, wheaty aroma and filling with tiny bubbles.

When it is added to the final dough, it gives ciabatta a deeper flavor, a lighter crumb, and a beautifully crisp crust.

This recipe makes two medium ciabatta loaves with approximately 75% hydration. The dough is wet and sticky — and that is exactly how it should be.
What You Need

Ingredients

Use strong bread flour if possible. Ciabatta dough needs enough gluten strength to hold its water and retain the gas produced during fermentation. The total recipe contains 500 g flour and 375 g water, giving the dough a hydration of 75%.

Stage One

For the Poolish

  • Bread flour250 g
  • Water250 g
  • Instant yeast0.5 g
A very small amount of yeast — just enough to wake slowly over many hours.
Stage Two

For the Final Dough

  • All of the prepared poolish500 g
  • Bread flour250 g
  • Water125 g
  • Salt10 g
  • Instant yeast2 g
Reserve 20–25 g of water — different flours absorb differently, and holding back gives you control.
The Method

Step by Step

Ciabatta is made from very simple ingredients, but every stage leaves a mark on the final crumb. Handle the dough gently, give it enough time, and let the bubbles created during fermentation remain inside the bread.

Step 01

Prepare the Poolish

Mix 250 g of flour, 250 g of water, and 0.5 g of instant yeast in a bowl or container. Stir until no dry flour remains — the mixture will look like a thick batter rather than bread dough.

Cover the container loosely and leave the poolish at room temperature for approximately 12–16 hours. The exact time depends on the temperature of your kitchen.

A mature poolish is covered with bubbles and has increased noticeably in volume. Its surface may be slightly domed or just beginning to flatten in the center. The aroma should be pleasantly fermented, sweet, wheaty, and slightly creamy.

If the poolish has completely collapsed and developed a sharp alcoholic smell, it has fermented too long — it can still raise dough, but its flavor will not be as balanced.
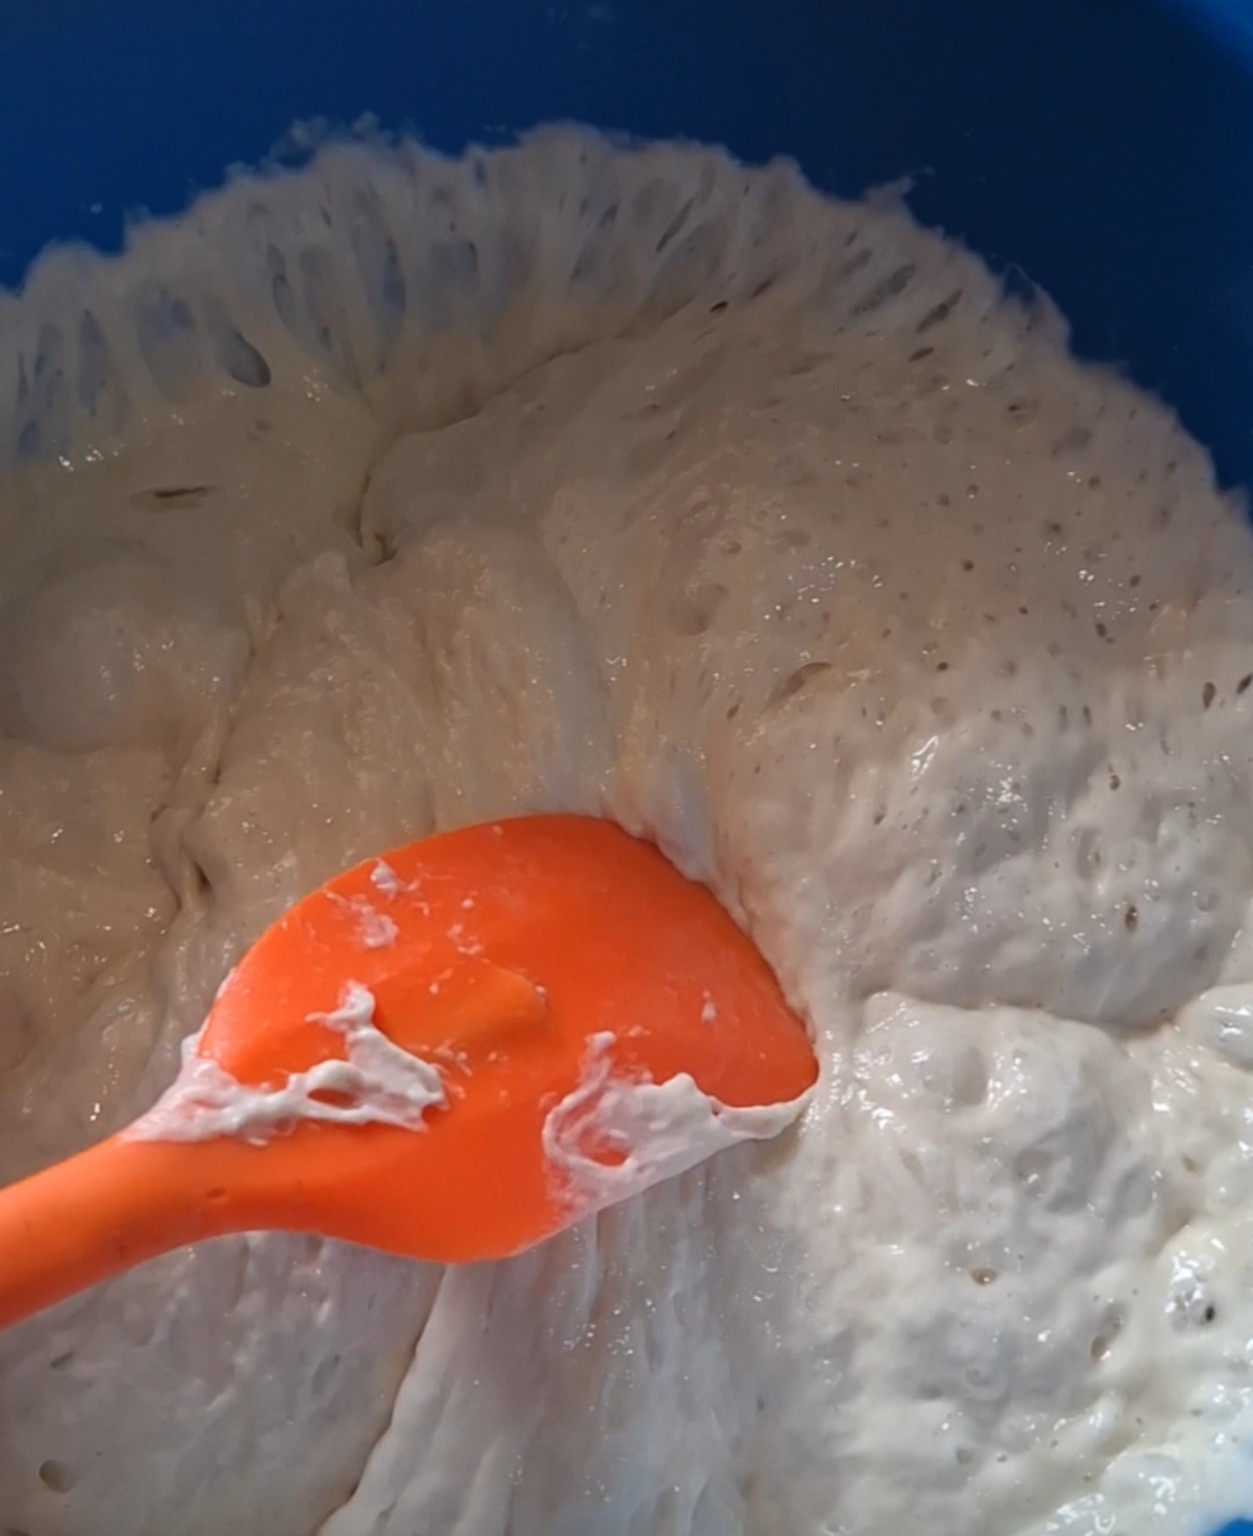
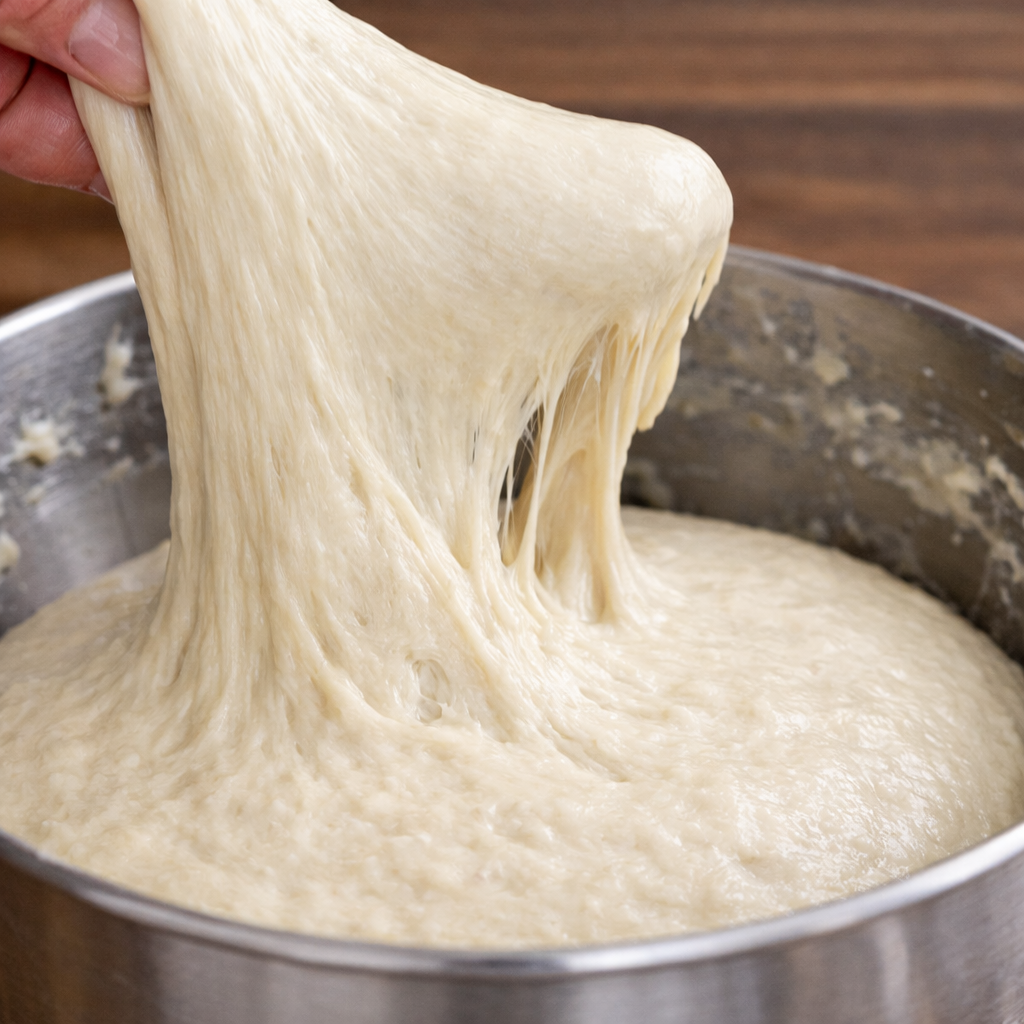
A mature poolish should be airy and filled with bubbles throughout.
Step 02

Mix the Final Dough

Place all of the mature poolish in a large bowl. Add 250 g of flour and most of the remaining water — reserve approximately 20–25 g so you can adjust later.

Mix until the flour is fully moistened. The dough will be rough, sticky, and loose. This is normal. Cover it and leave it to rest for about 20–30 minutes. This short rest allows the flour to absorb the water and begins developing gluten without intensive kneading.

After the rest, dissolve the salt and 2 g of instant yeast in the reserved water. Add this mixture gradually to the dough, squeezing and folding until the liquid is absorbed. At first the dough may appear to separate — continue working gently. It should gradually come back together.

Do not add extra flour simply because the dough sticks to your hands. Ciabatta dough is supposed to be wet. Wet your hands lightly or use a dough scraper instead.

Step 03

Develop Strength Without Heavy Kneading

The dough does not need long, aggressive kneading. Its strength develops during bulk fermentation through a series of folds.

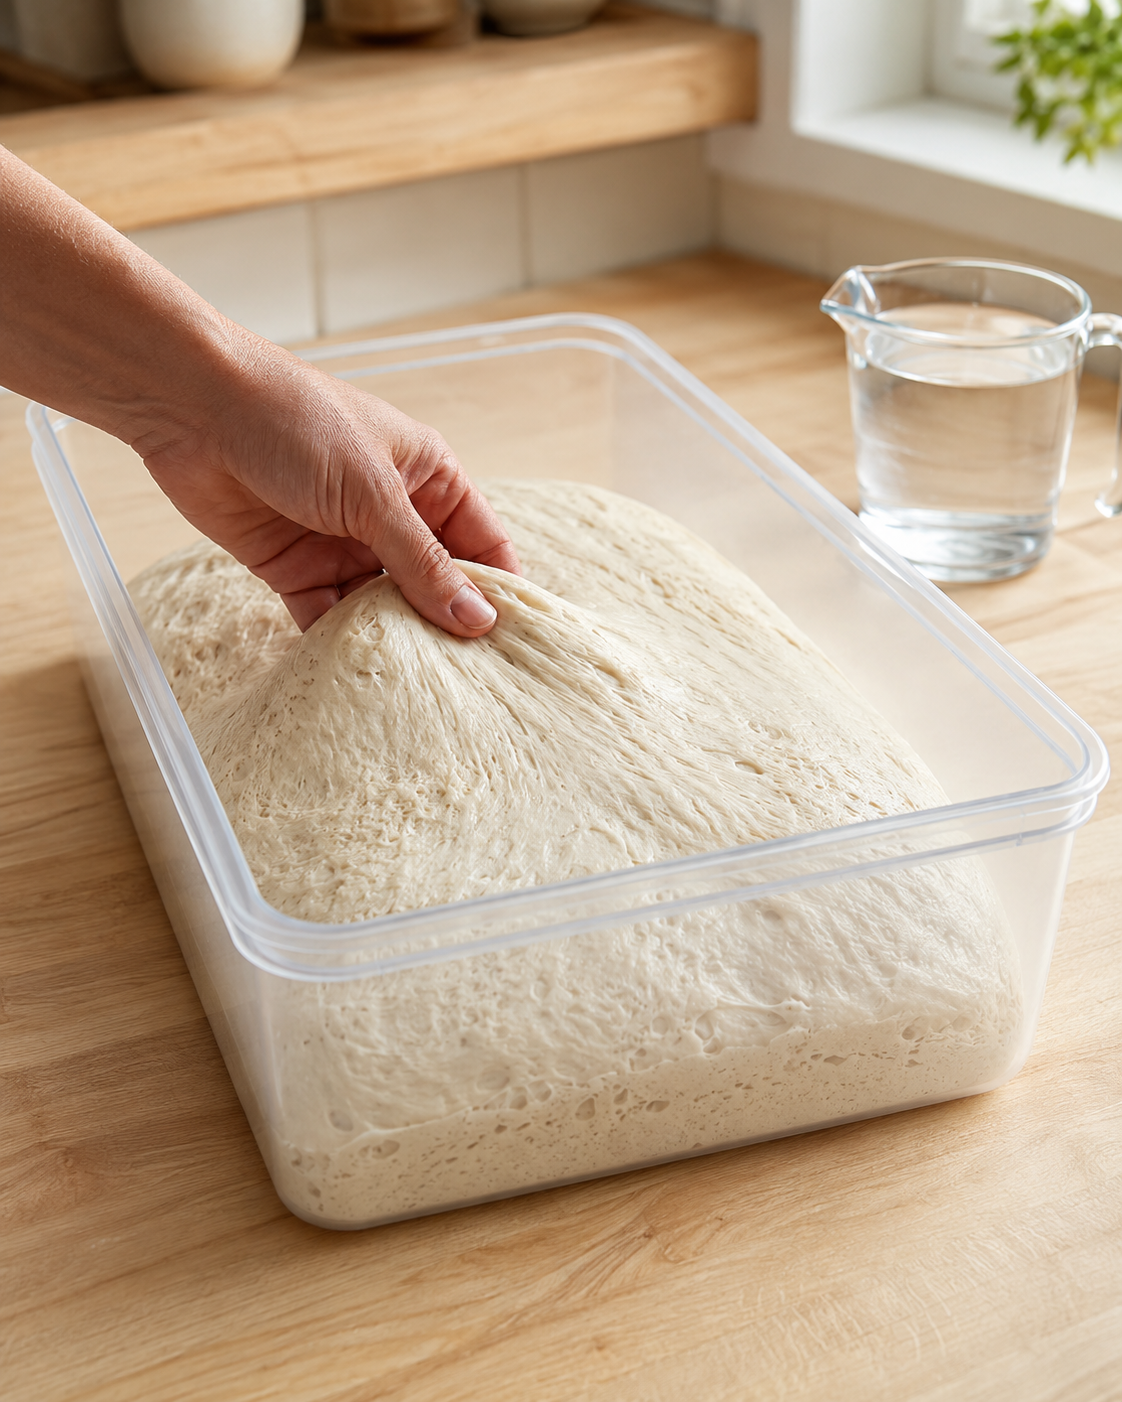
Transfer the dough to a lightly oiled rectangular container — a transparent one is especially helpful because it allows you to see the bubbles forming along the sides and underneath.

After 30 minutes, perform the first set of folds. Wet your hands, lift one side of the dough, gently stretch it upward, and fold it toward the center. Turn the container and repeat from the other sides. You can also use coil folds.

Repeat the folds every 30 minutes Repeat the folds every 30 minutes during the first 90–120 minutes. Three or four sets are usually enough. The dough should change after every set — smoother, more elastic, sitting higher in the container. Early folds can be more deliberate; later folds should be gentle because the dough will already contain gas that you want to preserve.

Step 04

Watch the Dough During Bulk Fermentation

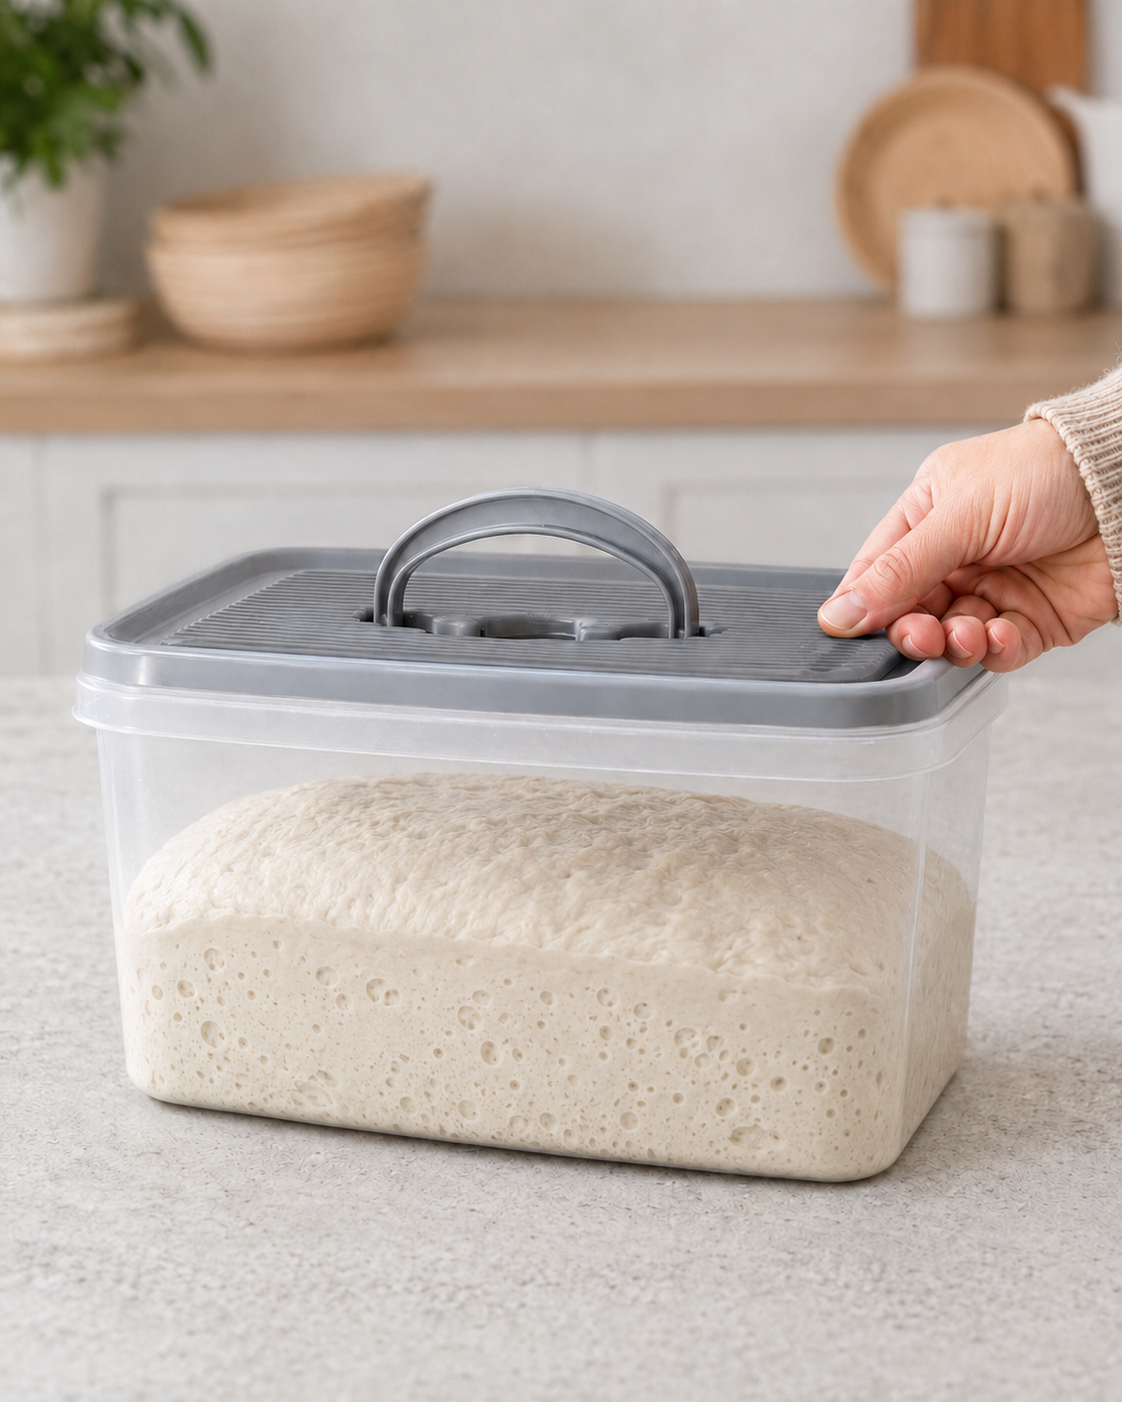
After the final fold, leave the dough undisturbed until bulk fermentation is complete. The entire bulk fermentation may take approximately two to three hours, depending on temperature.

Do not wait automatically for the dough to double. Ready ciabatta dough usually increases by approximately 50–70%. It should look aerated and slightly domed, with bubbles visible along the sides. When the container is moved, the dough should jiggle softly as one connected mass.

Underfermented dough feels heavy and tight — bread made from it often has a tight crumb with one or two large tunnels.

Overfermented dough becomes extremely soft, sticks heavily, and loses gas as soon as it is turned out. The baked ciabatta may be flat even though the dough looked full of bubbles in the container.

Correct fermentation is more important for an open crumb than adding extra water.

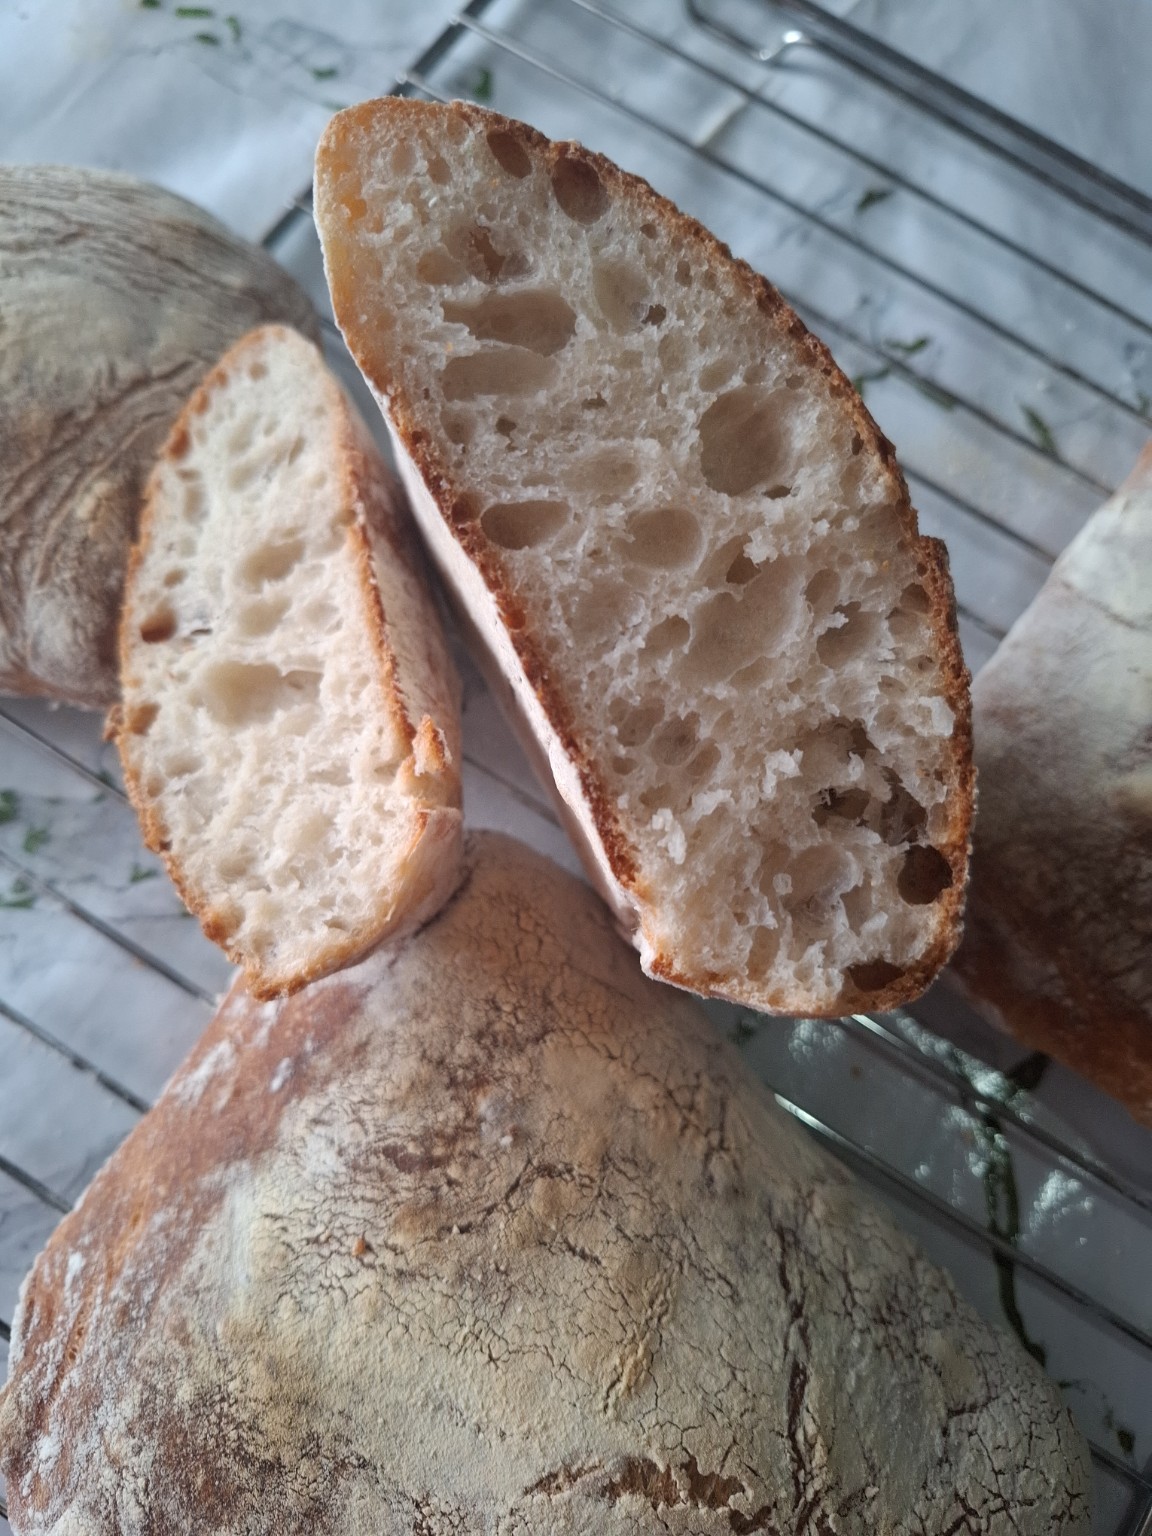
Ciabatta crumb structure — irregular holes from controlled fermentation
The dough is ready when it has risen by about 50–70%, looks aerated, and jiggles gently when the container is moved.
Step 05

Prepare the Work Surface

Generously flour the work surface before turning out the dough. Semolina or rice flour can be mixed with bread flour to reduce sticking.

Unlike a round sourdough loaf, ciabatta is not tightly shaped. Its internal bubbles are preserved through careful handling.

Gently loosen the edges of the dough with a scraper. Tilt the container and allow the dough to fall onto the floured surface under its own weight. Try not to pull, press, or flatten it. Flour the top lightly and use a bench scraper to gently bring the sides inward if the dough has spread too widely. The aim is simply a roughly rectangular piece of dough while preserving its airy structure.

Step 06

Divide and Shape the Ciabatta

Divide the dough into two equal pieces with a bench scraper.

Ciabatta means "slipper" in Italian, and the loaves are traditionally long, flat, and slightly irregular. They do not need to be perfectly identical.

Gently stretch each piece into a rectangle. If necessary, fold one long edge slightly toward the center and then fold the opposite edge over it. Use as little pressure as possible.

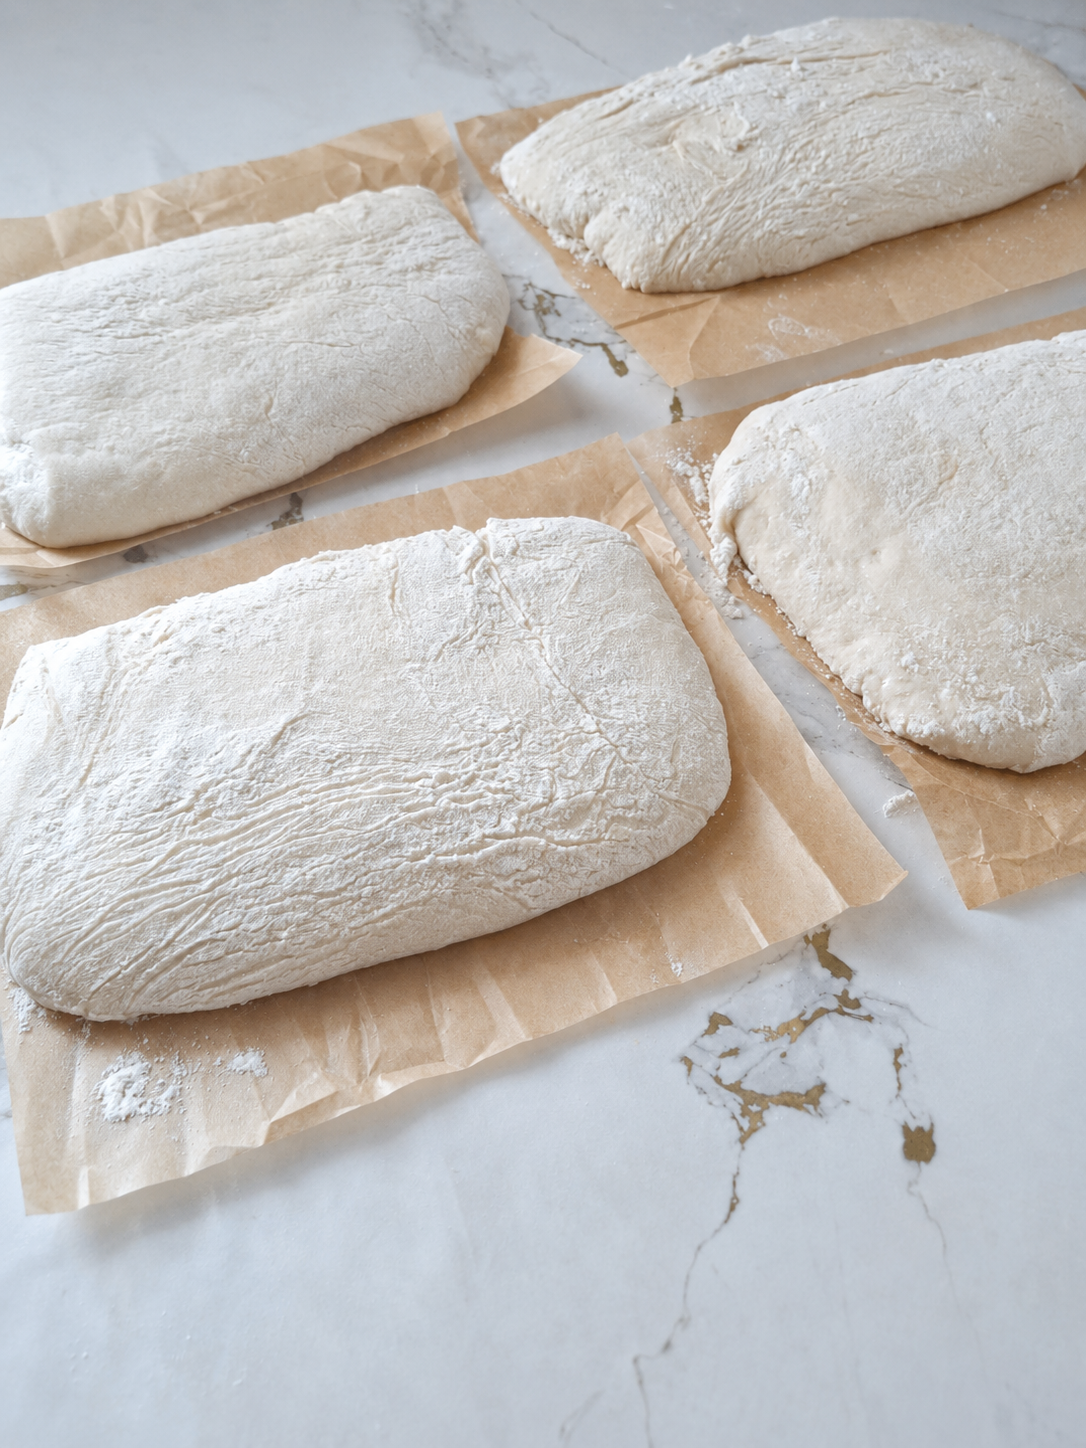
Transfer the pieces to a well-floured linen cloth or parchment paper. If using a cloth, create folds in the fabric between the loaves to support their sides. Dust the tops lightly with flour and cover the loaves with another cloth.

Four ciabatta dough pieces during final proofing on parchment paper
Step 07

Final Proof

Leave the ciabatta to proof for approximately 30–45 minutes. The loaves should become slightly fuller and feel light beneath the flour. Small bubbles may appear under the surface.

They do not need to double. If they become extremely soft and swollen, they may be difficult to transfer without losing volume.

A properly proofed ciabatta still has some strength. When the edge is touched gently, the dough feels aerated but does not collapse. The finger-poke test is not especially reliable for very wet dough — it is better to judge the overall increase in volume, the visible bubbles, and how the dough moves.

While the loaves are proofing, preheat the oven thoroughly.

Step 08

Preheat the Oven and Prepare Steam

Preheat the oven to 250 °C (480 °F) with a baking stone, steel, or heavy baking tray inside. Allow at least 40–50 minutes for the baking surface to heat completely. A properly preheated surface gives the wet dough immediate support and helps create strong oven spring.

Ciabatta also needs steam during the beginning of baking. Steam keeps the crust flexible while the loaf expands.

If your oven does not have a steam function, place a sturdy empty metal tray on the lower shelf during preheating. After loading the bread, carefully pour hot water into the tray and close the oven door immediately.

Do not pour water directly onto the glass oven door.

Step 09

Transfer the Loaves Carefully

Moving wet, fully fermented dough is one of the most delicate moments in the recipe.

If the loaves proofed on a floured cloth, gently roll or lift them onto parchment paper or a transfer board. Try to support the entire loaf rather than pulling it from one end.

Ciabatta is often turned over during transfer. This helps redistribute some of the largest bubbles and gives the loaf its characteristic rustic appearance.

Do not score the loaves. Unlike a boule or bâtard, ciabatta normally expands through its naturally uneven surface. Work calmly but without unnecessary delay — once transferred, the loaves should go into the hot oven quickly.

Step 10

Bake the Ciabatta

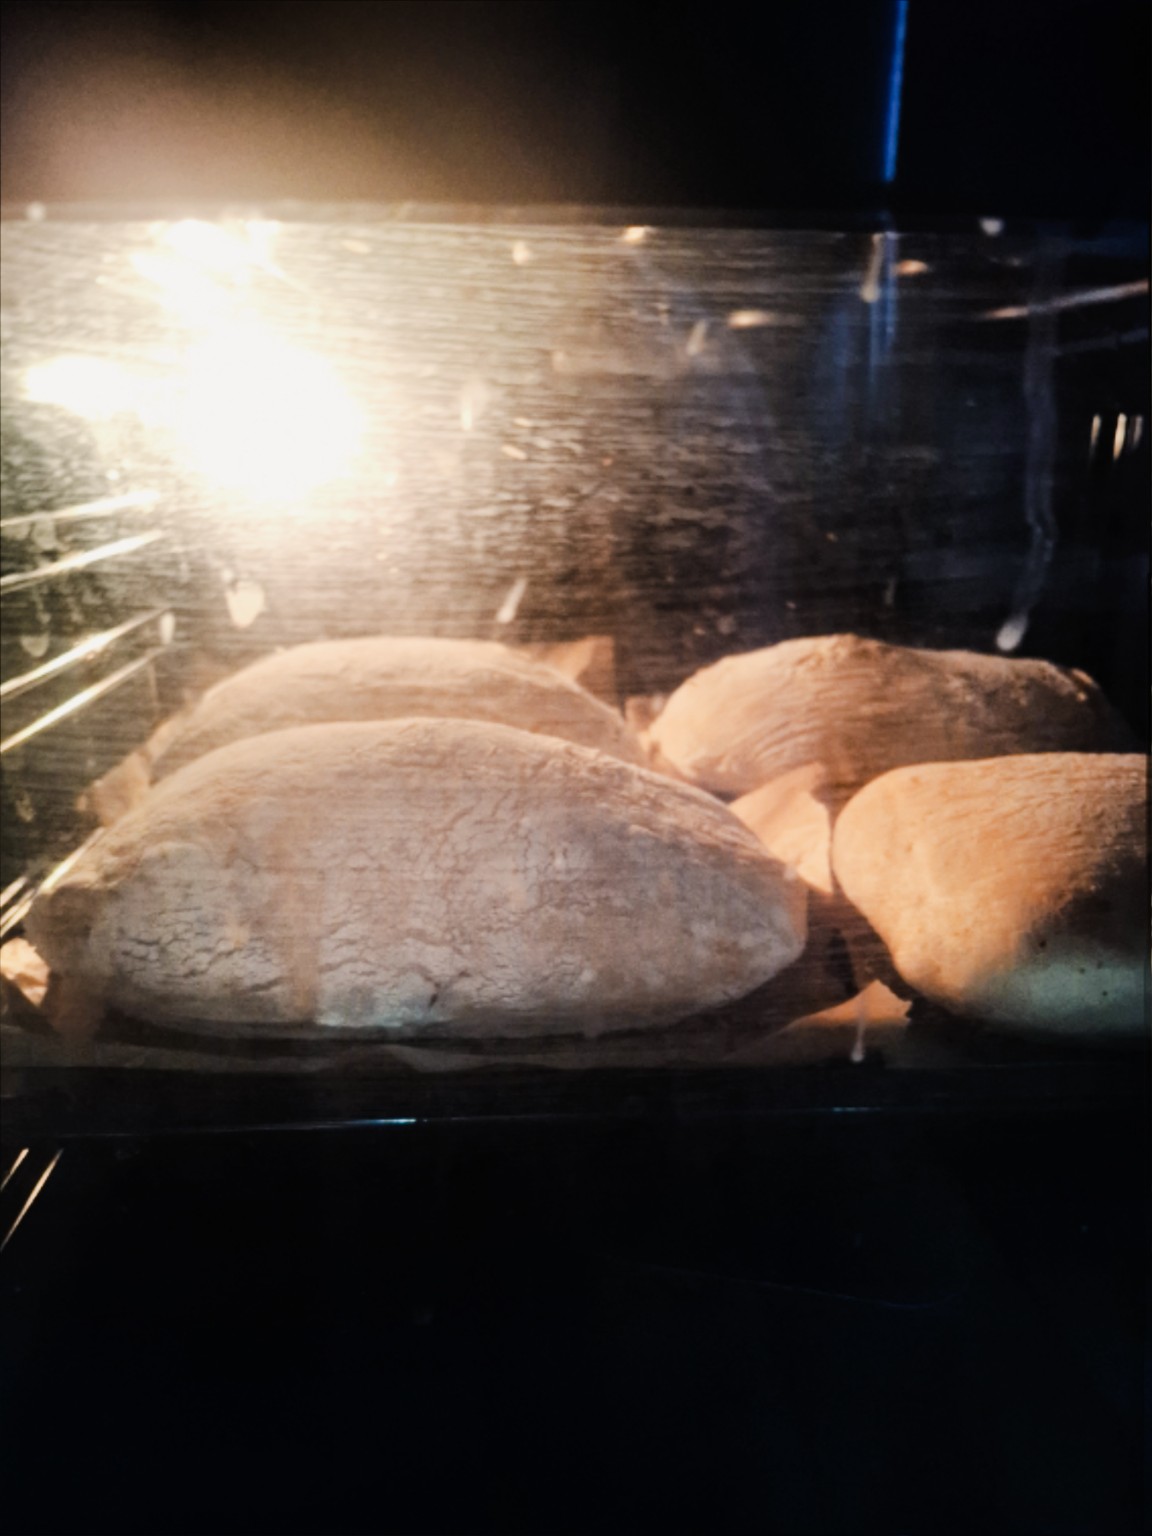
Slide the loaves onto the preheated baking surface. Bake with steam at 240–250 °C (465–480 °F) for approximately 15–18 minutes.

Then remove the steam tray or carefully open the oven for a few seconds to release excess moisture. Continue baking in a dry oven until the crust is deeply golden brown. The total baking time will usually be approximately 35–40 minutes, depending on the size and thickness of the loaves.

If the crust browns too quickly, reduce the temperature slightly during the second half of baking. The finished ciabatta should feel light for its size, sound hollow when tapped underneath, and have a crisp, well browned crust. During the final few minutes, you can leave the oven door slightly open to help dry and crisp the crust.

Step 11

Let the Bread Cool

Place the baked ciabatta on a wire rack and allow it to cool completely. The aroma may make waiting difficult, but cutting wet bread too early compresses the crumb and makes it appear sticky. The interior continues setting as the steam gradually escapes.

Wait at least one hour before slicing.

A properly baked ciabatta should have a thin, crisp crust and a moist, elastic crumb with irregular holes. The holes do not all need to be enormous — a mixture of medium and large pores usually gives the bread a lighter and more stable structure.

The Secret Is Not Only High Hydration

It is tempting to believe that adding more water automatically creates larger holes. In practice, water can only open the crumb when the dough has enough strength to hold it.

If the flour is weak, the poolish is overripe, or bulk fermentation goes too far, additional water makes the dough flatter and more difficult to handle.

Seventy-five percent hydration is a good working level for this recipe. It creates a genuinely wet ciabatta dough without pushing it beyond what most strong bread flours can support.

A controlled dough at 75% hydration will produce better ciabatta than shapeless dough at 80%.

A Note to End On

A Rustic Bread That Rewards Patience

Ciabatta is made from very simple ingredients, but every stage leaves a mark on the final crumb.

A mature poolish creates flavor. Resting and folding build strength. Correct bulk fermentation fills the dough with gas. Gentle dividing preserves that gas, and strong heat turns it into a light, crisp loaf.

The dough will never feel as neat or manageable as firm bread dough. It will stick, stretch, and change shape under your hands. That is part of its character.

Once you stop trying to make wet dough behave like ordinary dough, ciabatta becomes much easier to understand. Handle it gently, give it enough time, and let the bubbles created during fermentation remain inside the bread.

Poolish does more than help the dough rise. During its long fermentation, flour enzymes begin breaking starches into simpler sugars — and this is why poolish ciabatta has a deeper, slightly nutty flavor even though the ingredient list remains very simple.

— why poolish works so well
Ciabatta · Poolish Method Yield · 2 medium loaves  ·  Hydration · 75%  ·  890 g total dough

Ciabatta Troubleshooting

Learn why ciabatta turns out dense, flat, or lacking large holes—and how to fix the dough, fermentation, and baking process.